5 minutes
How to Deploy Azure Bastion

In my previous post on Azure Bastion I covered some of the basics around it’s addition to Azure. I touched on some of the reasons you might look to deploy Azure Bastion, and some of the advantages it brings in comparison to traditional solutions like RD Gateway, and jump-boxes. In this post, I want to build on that initial overview with a walk through of the deployment process. Azure Bastion is super simple to get up and running with. It’ll inevitably become another of those “must-have’s” for organisations as it matures…
Initially; some caveats. I referenced these in my overview of Bastion but for clarity they’re worth repeating here. At this point in time, the service is in Preview. All that really means is no SLA. Bearing in mind the ease with which you could work around it’s unavailability, it’s likely to be a non-issue… but it would be remiss of me not to highlight that “minor” technicality 🙂 It’s also only available in a handful of regions:
- West US
- East US
- West Europe
- South Central US
- Australia East
- Japan East
The above said, and on a positive note, Bastion is subject to a 50% discount during the Preview (see the Product page for more details on pricing). Even at full price it’s likely to be cheaper than alternatives, and significantly more secure than internet facing access.
Preparation
Before you can deploy Azure Bastion, you need to onboard the preview into your tenant. To do this, run the following commands in Azure Cloud Shell.
Register the feature:
Register-AzProviderFeature -FeatureName AllowBastionHost -ProviderNamespace Microsoft.Network
Re-register your subscription with the Microsoft.Network provider namespace:
Register-AzResourceProvider -ProviderNamespace Microsoft.Network
Verify that Azure Bastion is enabled for your subscription:
Get-AzProviderFeature -ProviderNamespace Microsoft.Network
It takes a few minutes for registration to take place. After running the first command you’ll note that “AllowBastionHost” will show a registration state of “Registering” (as opposed to “Registered”). Be patient. The documentation indicates that it will take “a few minutes”. In my case it took around 10 before the Microsoft.Namespace updated:

Deploy Bastion
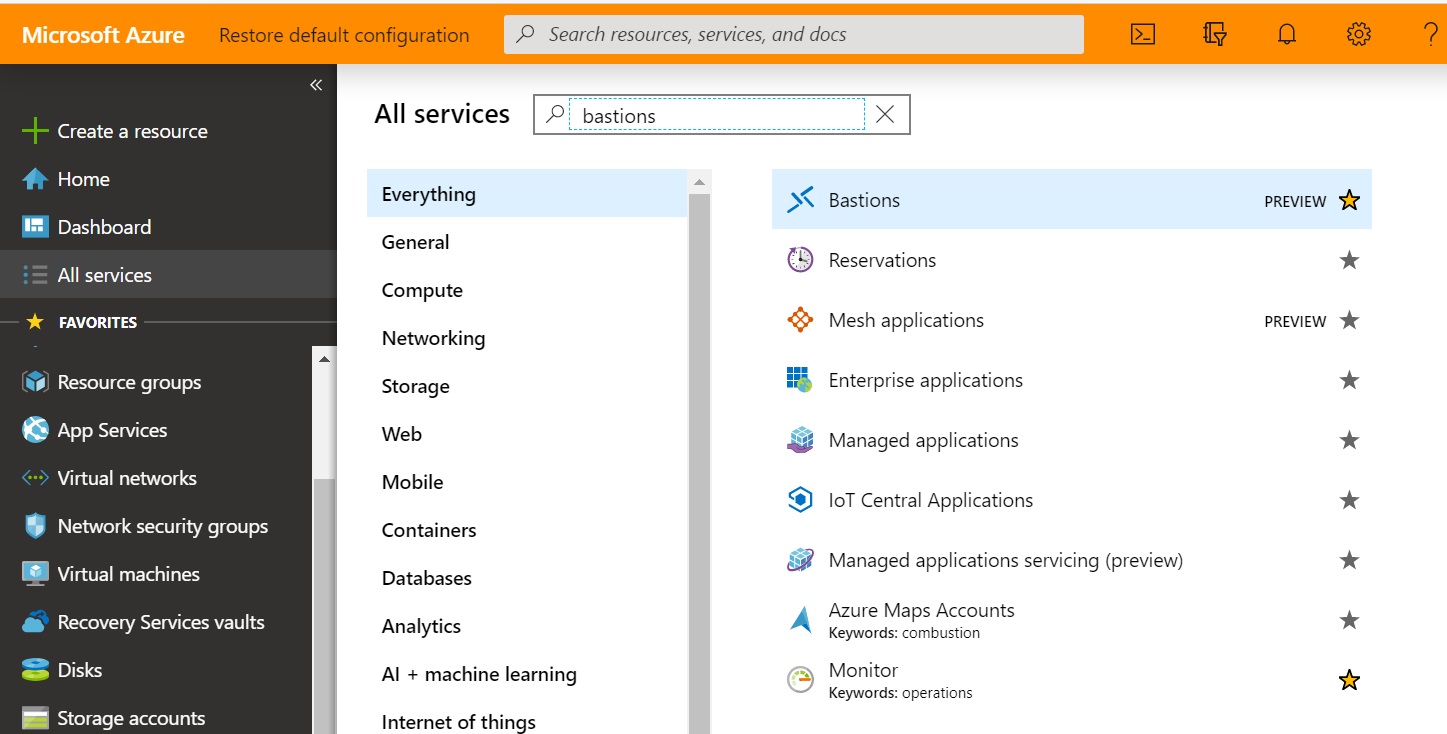
Once enabled, you can deploy Bastion from the preview portal. Search in “All Services” for “Bastions”:
Click Create to launch the “Create a Bastion” wizard:
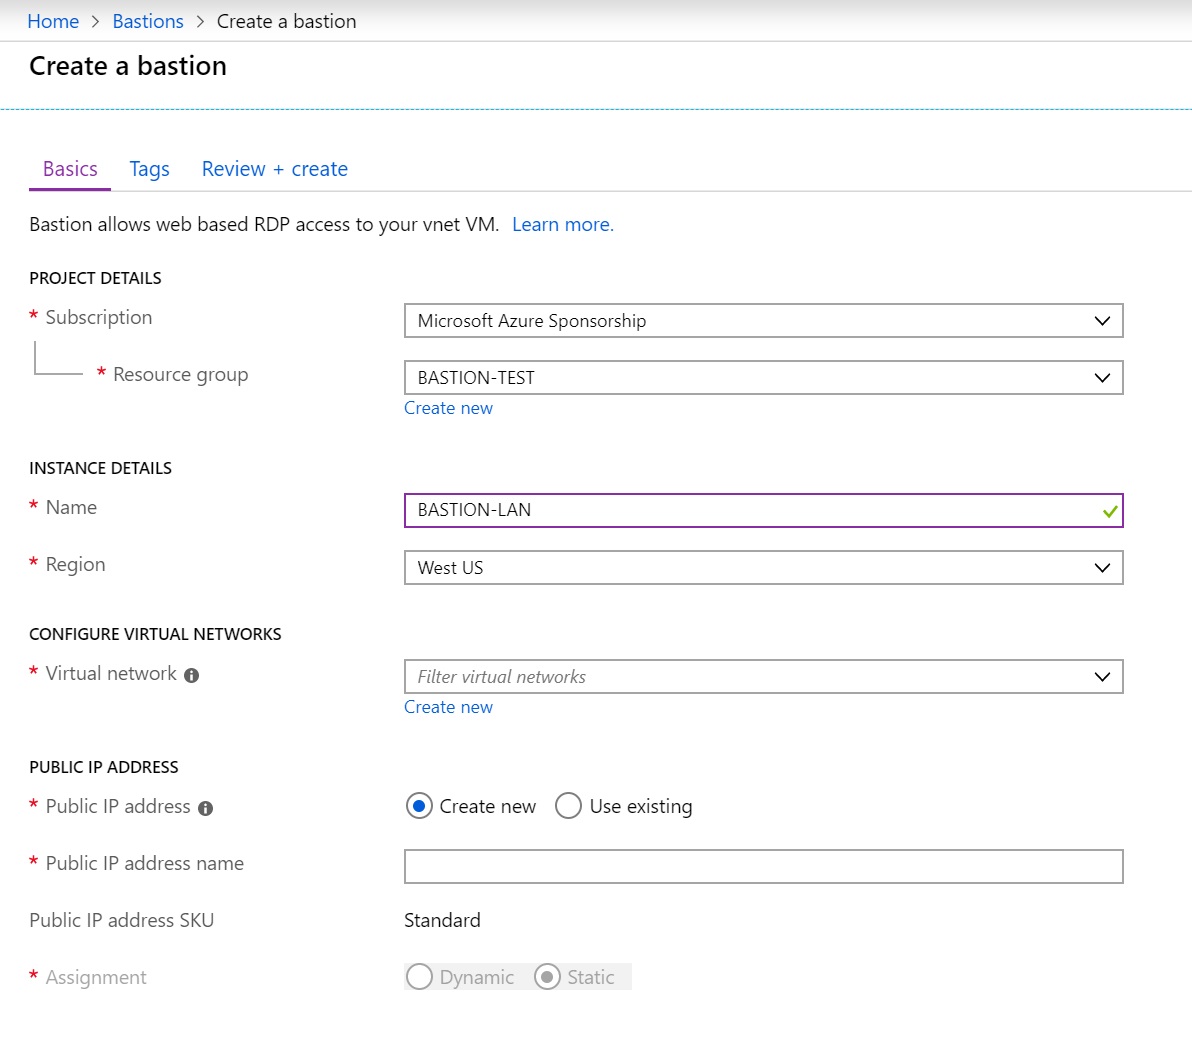
A point needing some explanation here is the subnet attribute (which appears once a Virtual Network has been selected). Much like a VPN Gateway, a dedicated subnet with a specific name is required. Create a subnet in your Bastion enabled VNet with the value AzureBastionSubnet. Microsoft’s recommendation is a /27 or larger address space, without assigned NSG’s, route tables, or delegations.
Once you’ve reviewed, and completed the required variables, click Review + Create to initiate the deployment. After 5 minutes or so, you should have a functioning Bastion instance! 🙂
Using Azure Bastion
Once the Bastion is deployed, you’ll be able to use it to access Virtual Machines in the associated VNet. Supported protocols are RDP (3389) and SSH (22) - both via browser over SSL. What this means in practice is that you don’t need (and actually, can’t use) client software on your local machine. This point is referenced in the Bastion FAQ, along with a list of supported browsers. These are (at the time of writing):
- Microsoft Edge
- Google Chrome (Windows)
- Google Chrome (MacOS)
- Microsoft Edge Chromium (Windows)
- Microsoft Edge Chromium (MacOS)
To establish the connection, click “Connect” icon in the properties of any Virtual Machine. Alongside the traditional RDP and SSH tabs, you’ll now see a “Bastion” option. Based on the VM Operating System (Windows, or Linux) RDP or SSH is assumed. For a Windows machine, enter RDP credentials. For a Linux host, you can enter traditional username / password values, or authenticate using a Private Key. The latter can be manually inserted, or uploaded via a local file.
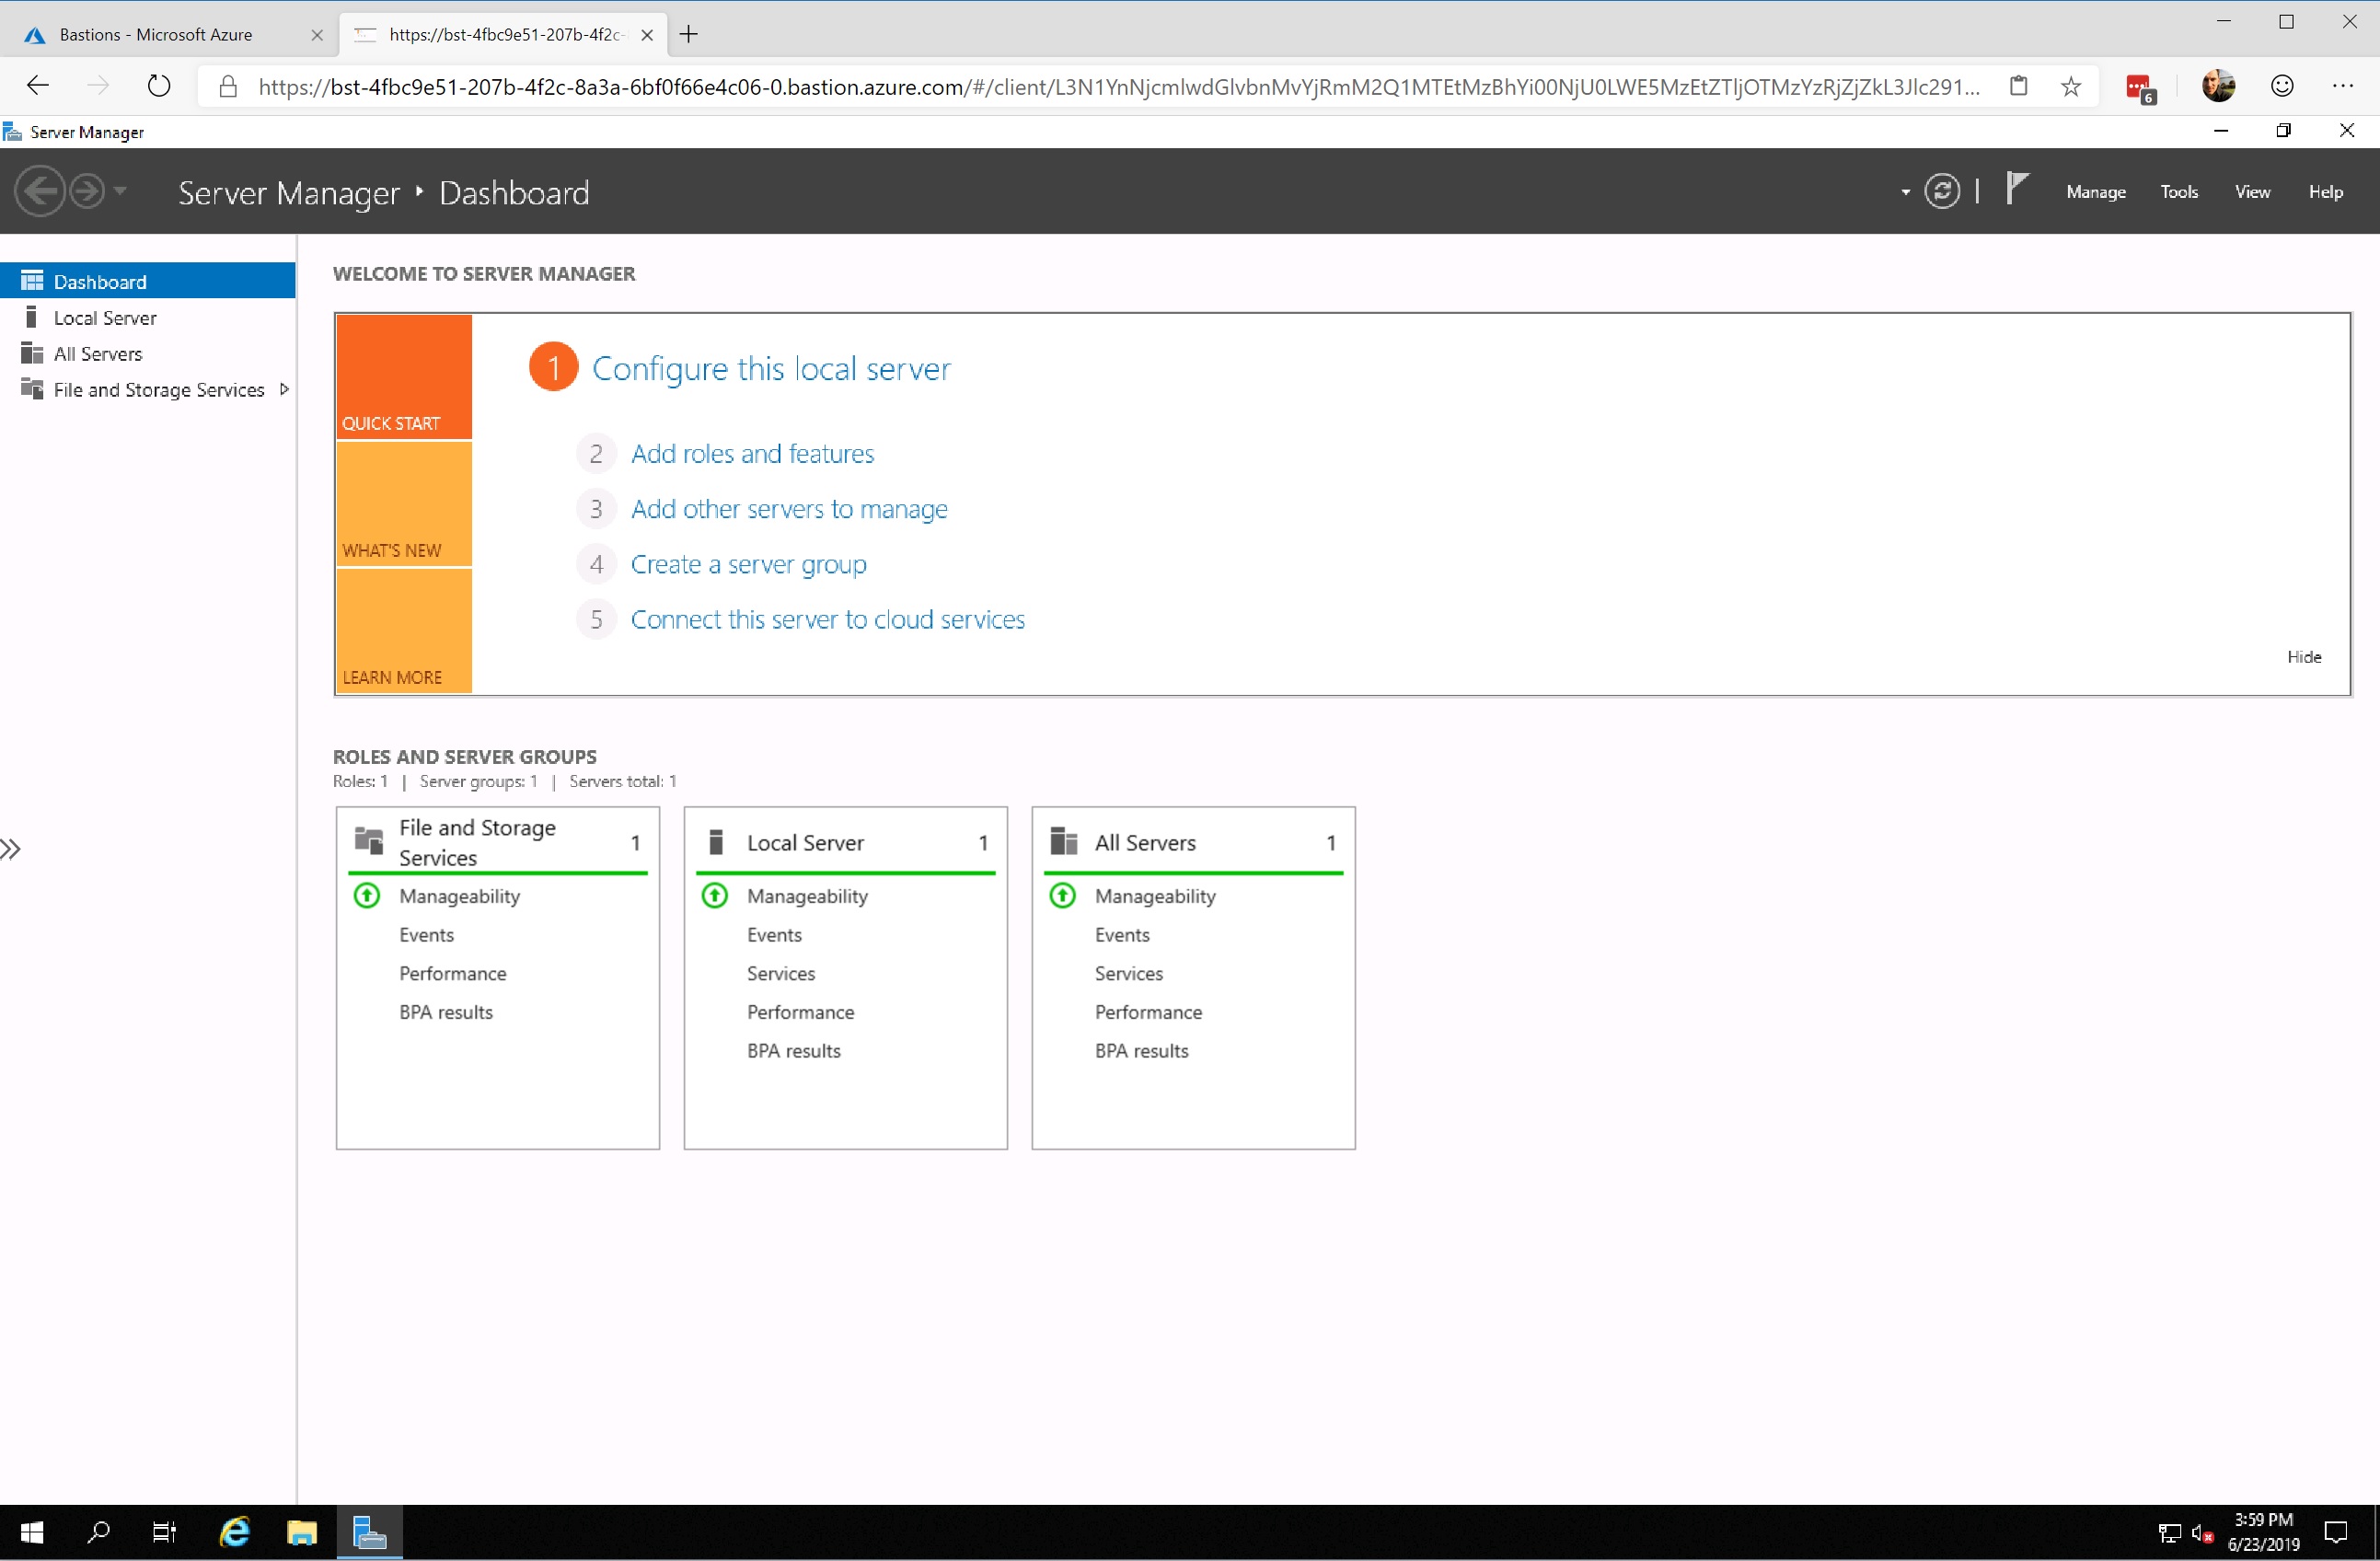
Once initiated, the session will open in a new window (if selected), or inside of the Azure Portal. The experience is similar to that of browser based RDS, and performs surprisingly well:
Obviously there are constraints at this stage. Copy / Paste functionality is rudimentary, and the browser-based nature means that you don’t get feature parity equivalent to a network level connection. That said, support for local clients has been hinted at, which will address some feature gaps. We should also remember that it’s early days for the development of Bastion. I’m hopeful, and expectant, for some fairly significant progress in the coming months 🙂
Summary
I hope (if you’ve made it this far) that this post has been useful. I’d encourage you again to read through my previous post if you haven’t already, which provides some commentary and additional background to Bastion more generally. Also take a look through the Microsoft documentation which, in spite of it’s Preview status, is reasonably comprehensive 🙂
At the risk of repeating myself, I think this is a great addition to the Azure portfolio. It’s simple to deploy, low cost, and addresses a notable gap that existed when comparing Azure with other Public Cloud providers. Best practice isn’t always obvious or easy to achieve, but PaaS based services that promote a good security baseline are an excellent step forward in helping customers to do the right thing from the outset!